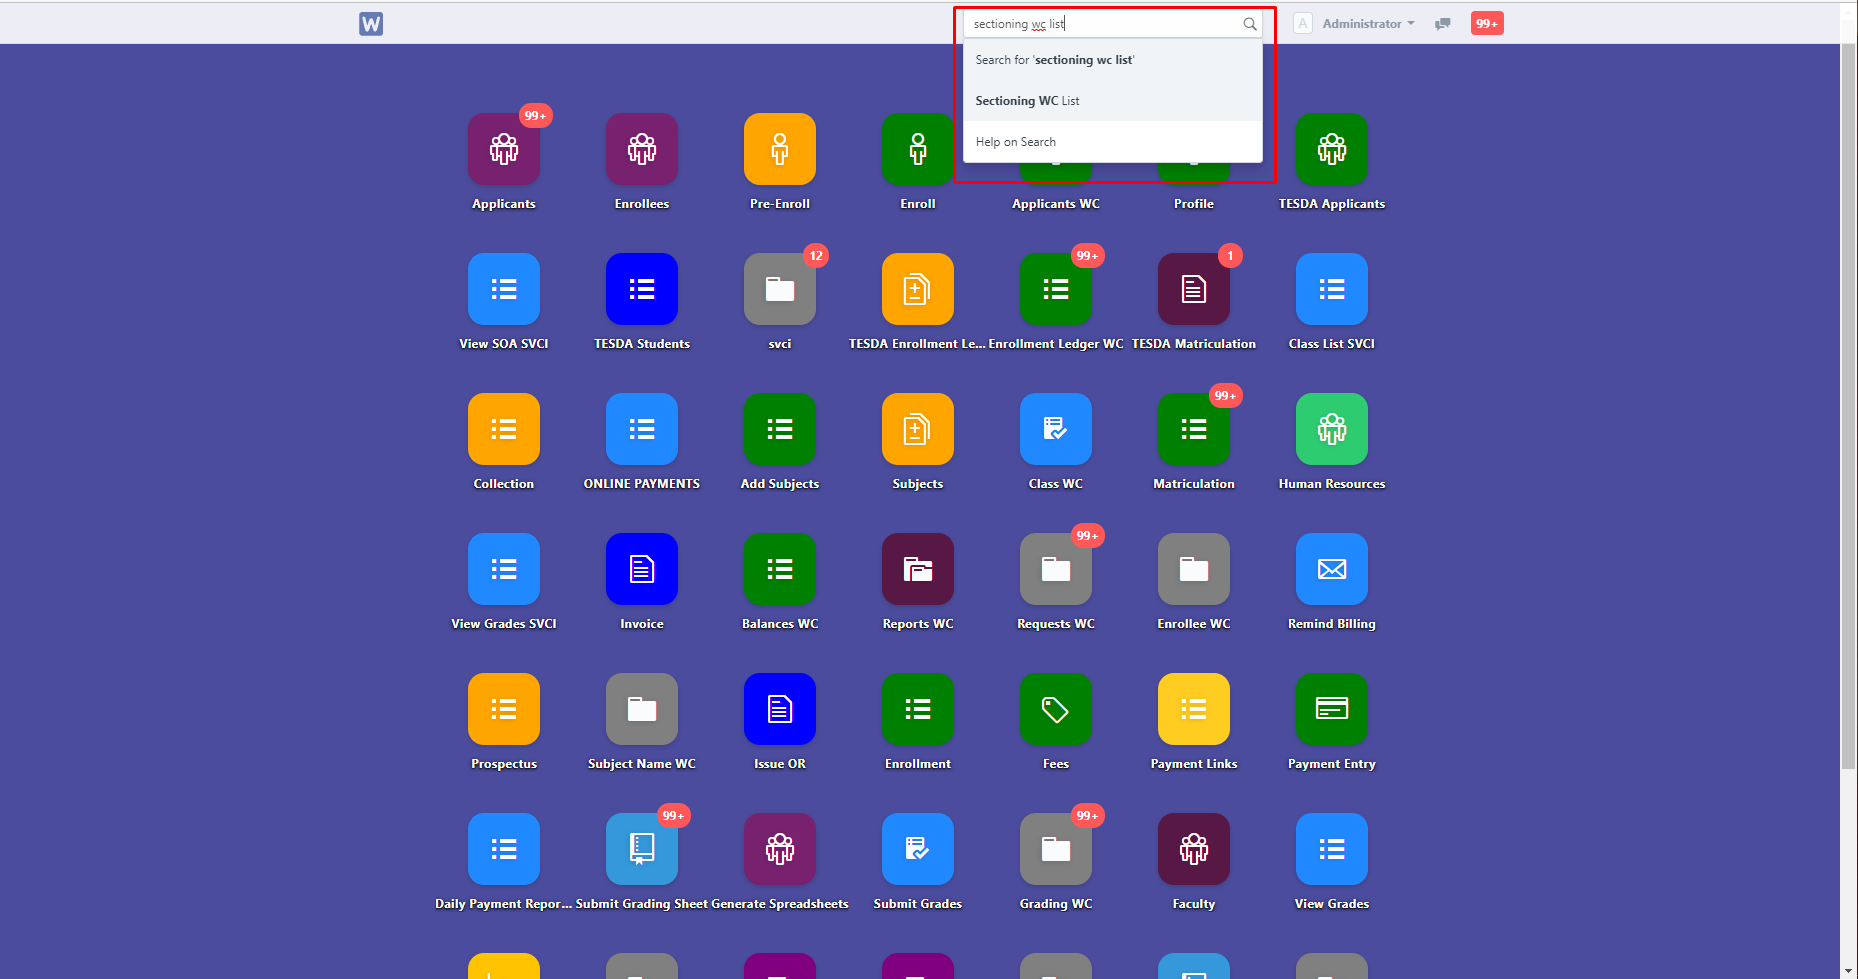
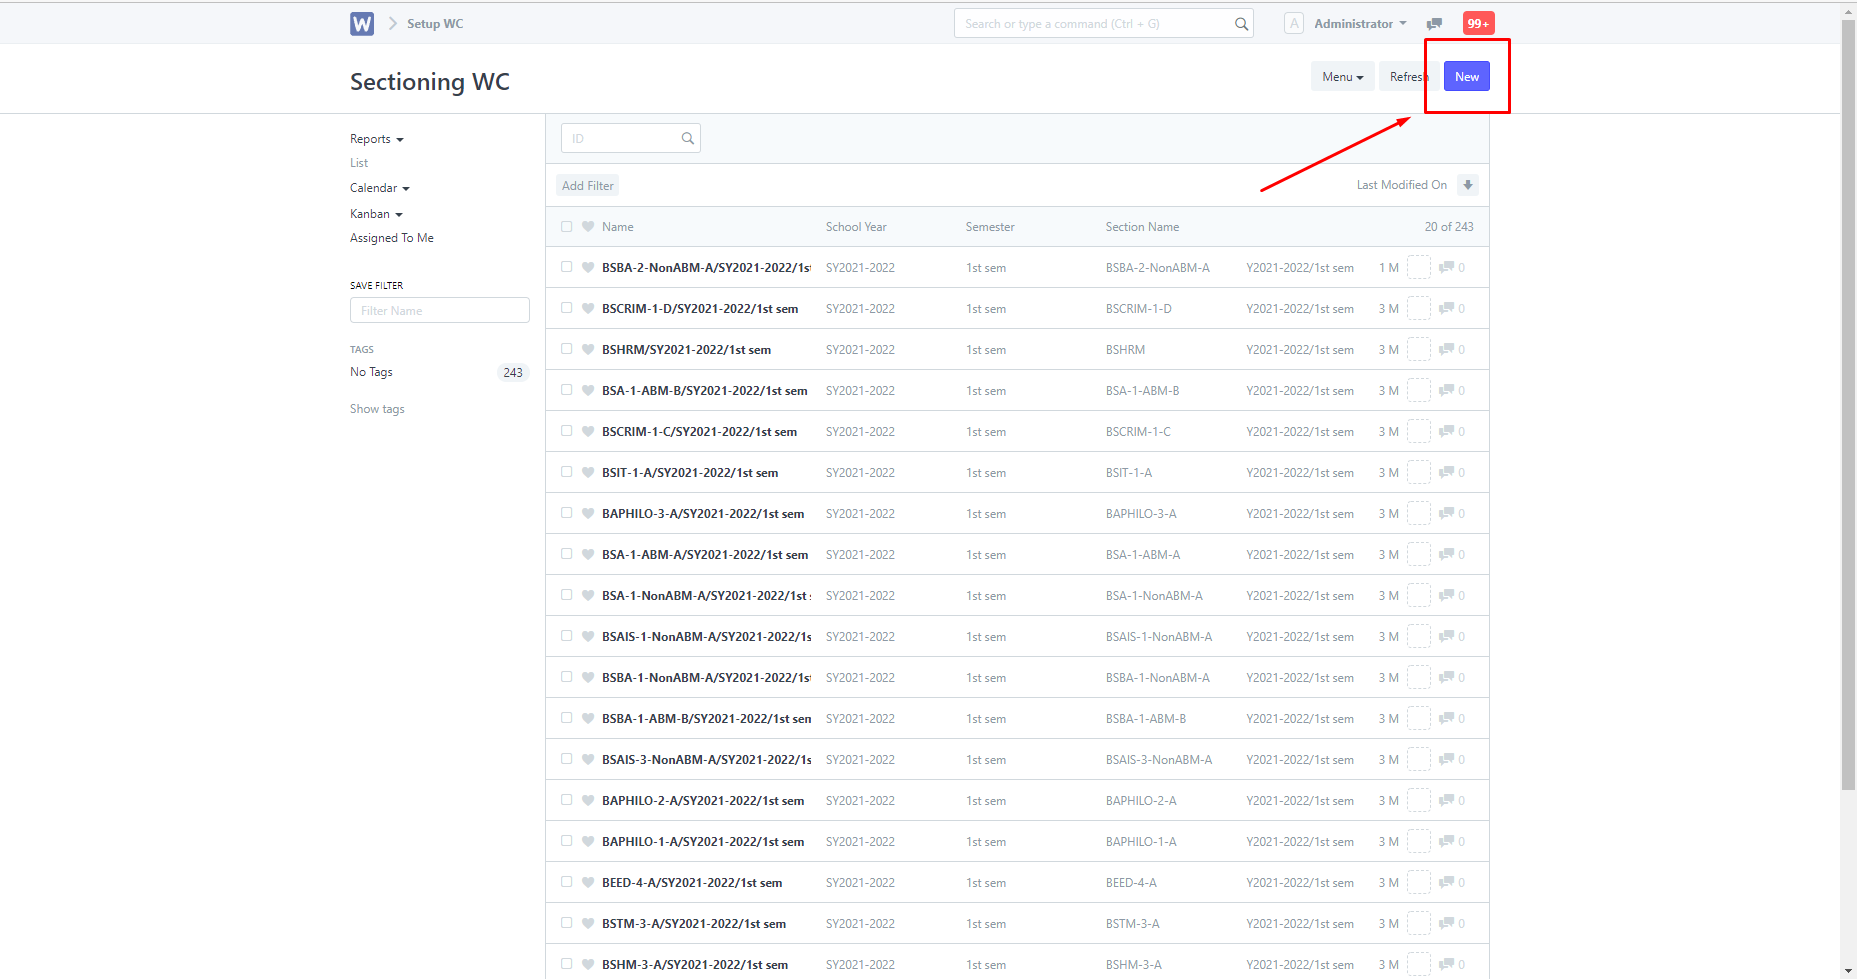
To create schedules in Sectioning WC, search for "Sectioning WC List" in the the search bar.
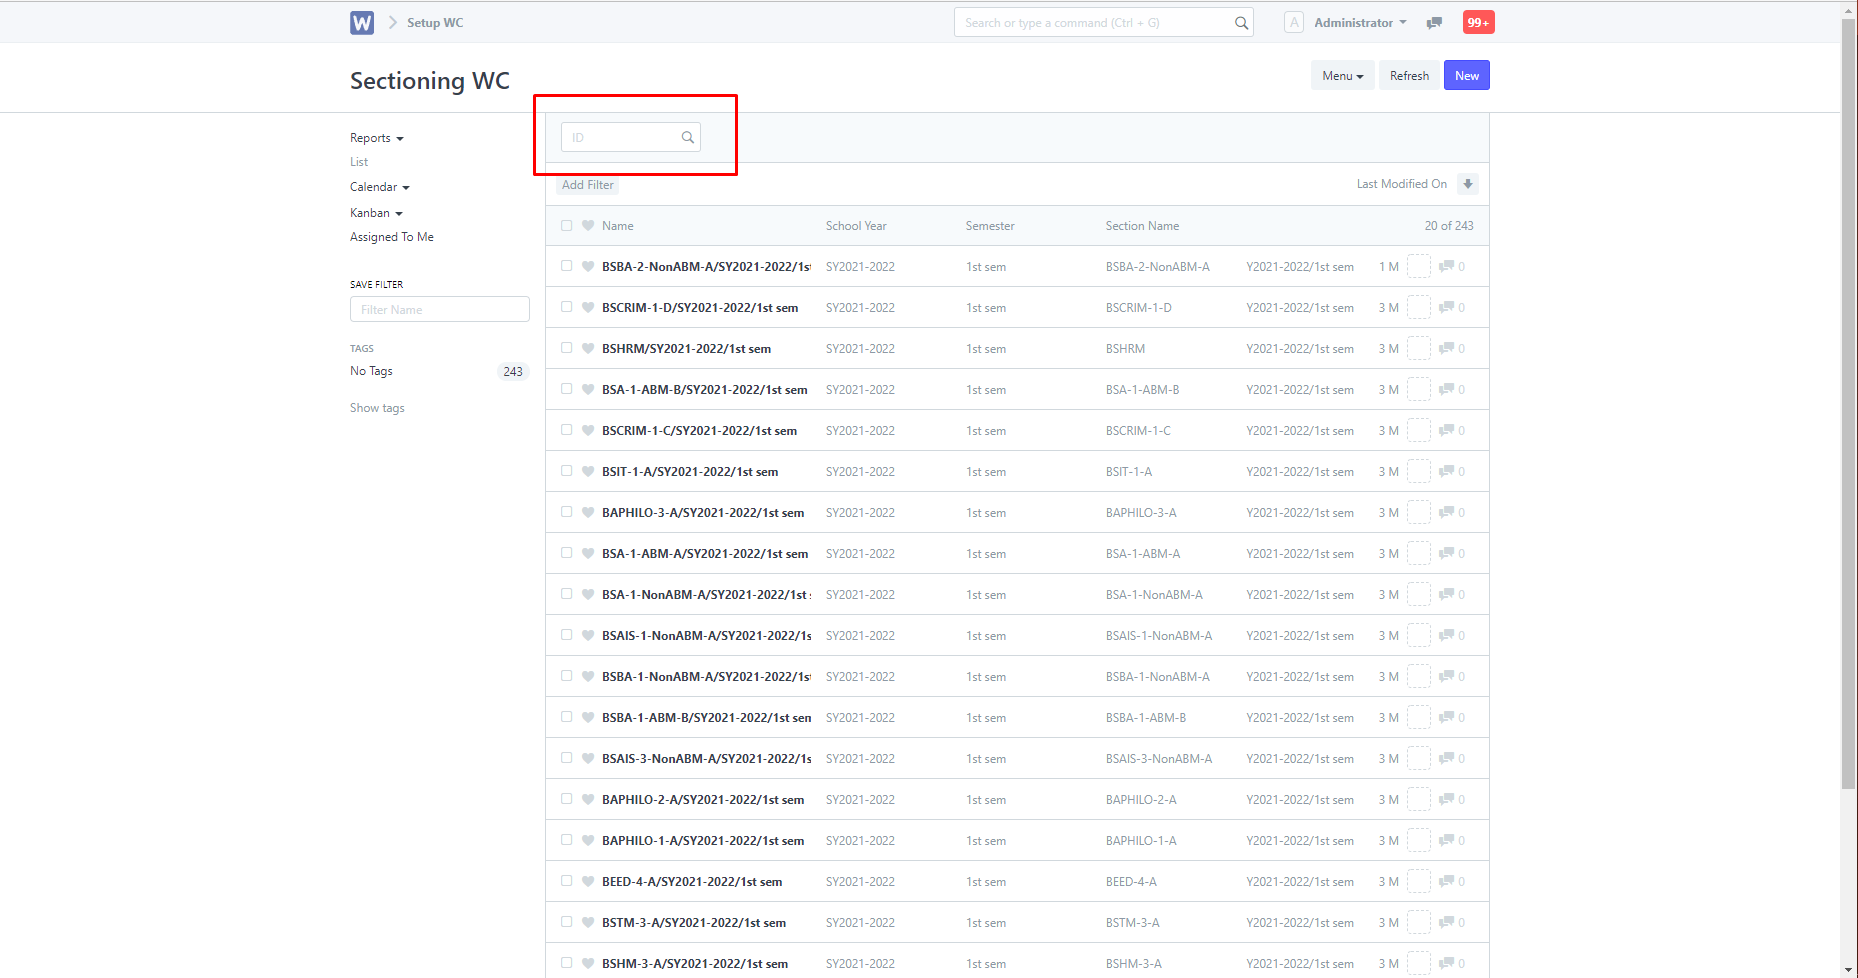
You are then directed to this page, find the course that you want to add schedules to or if there isn't, create one using new.
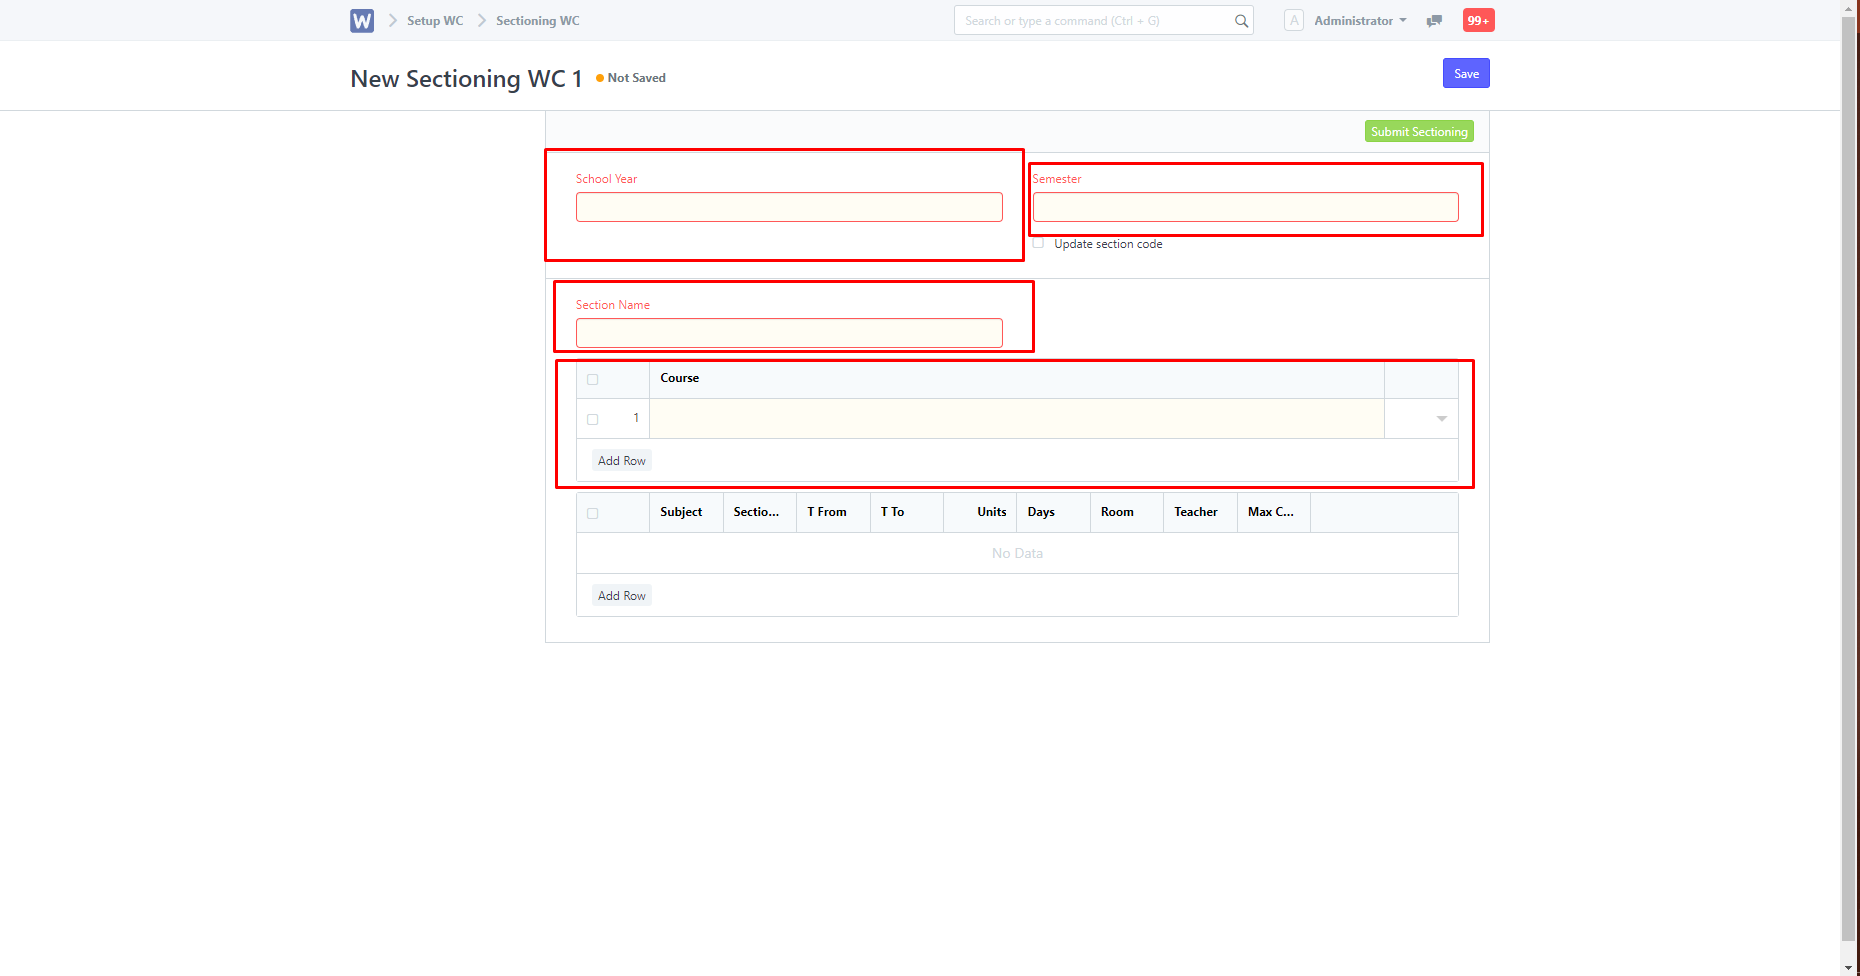
When creating a new entry in Sectioning WC, you will be directed to this page. Enter in the details, do note that the mandatory fields are required before saving.
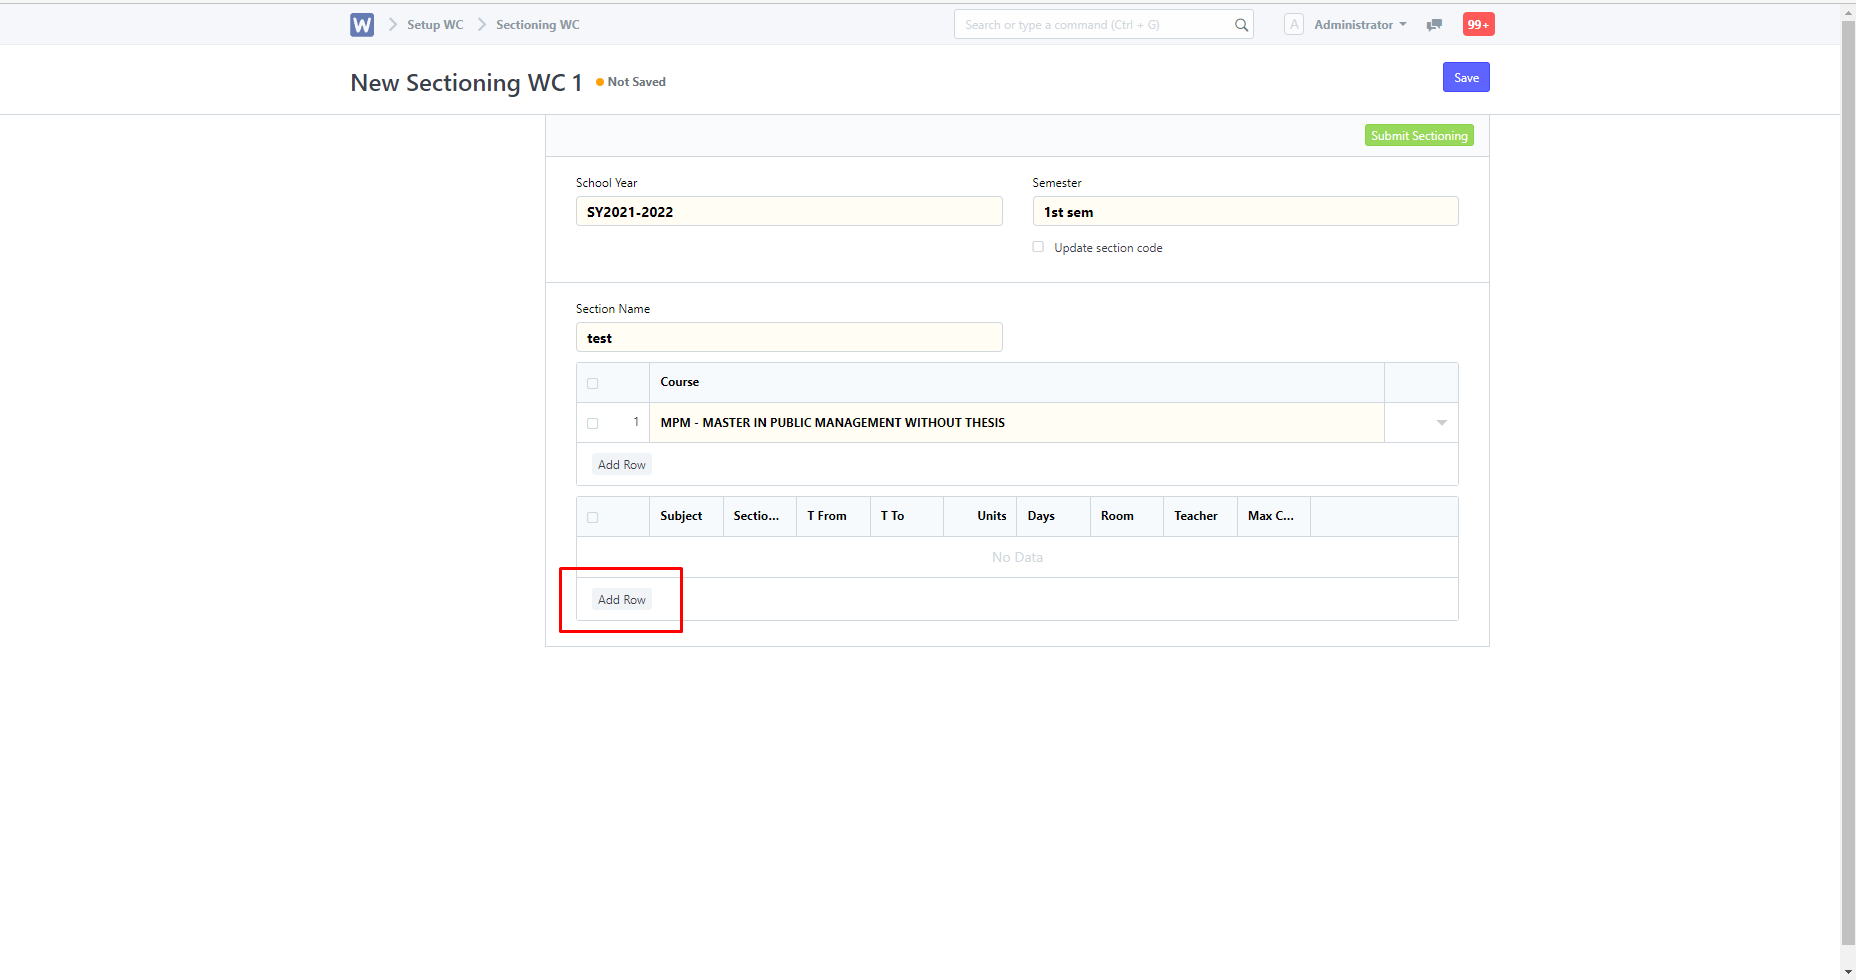
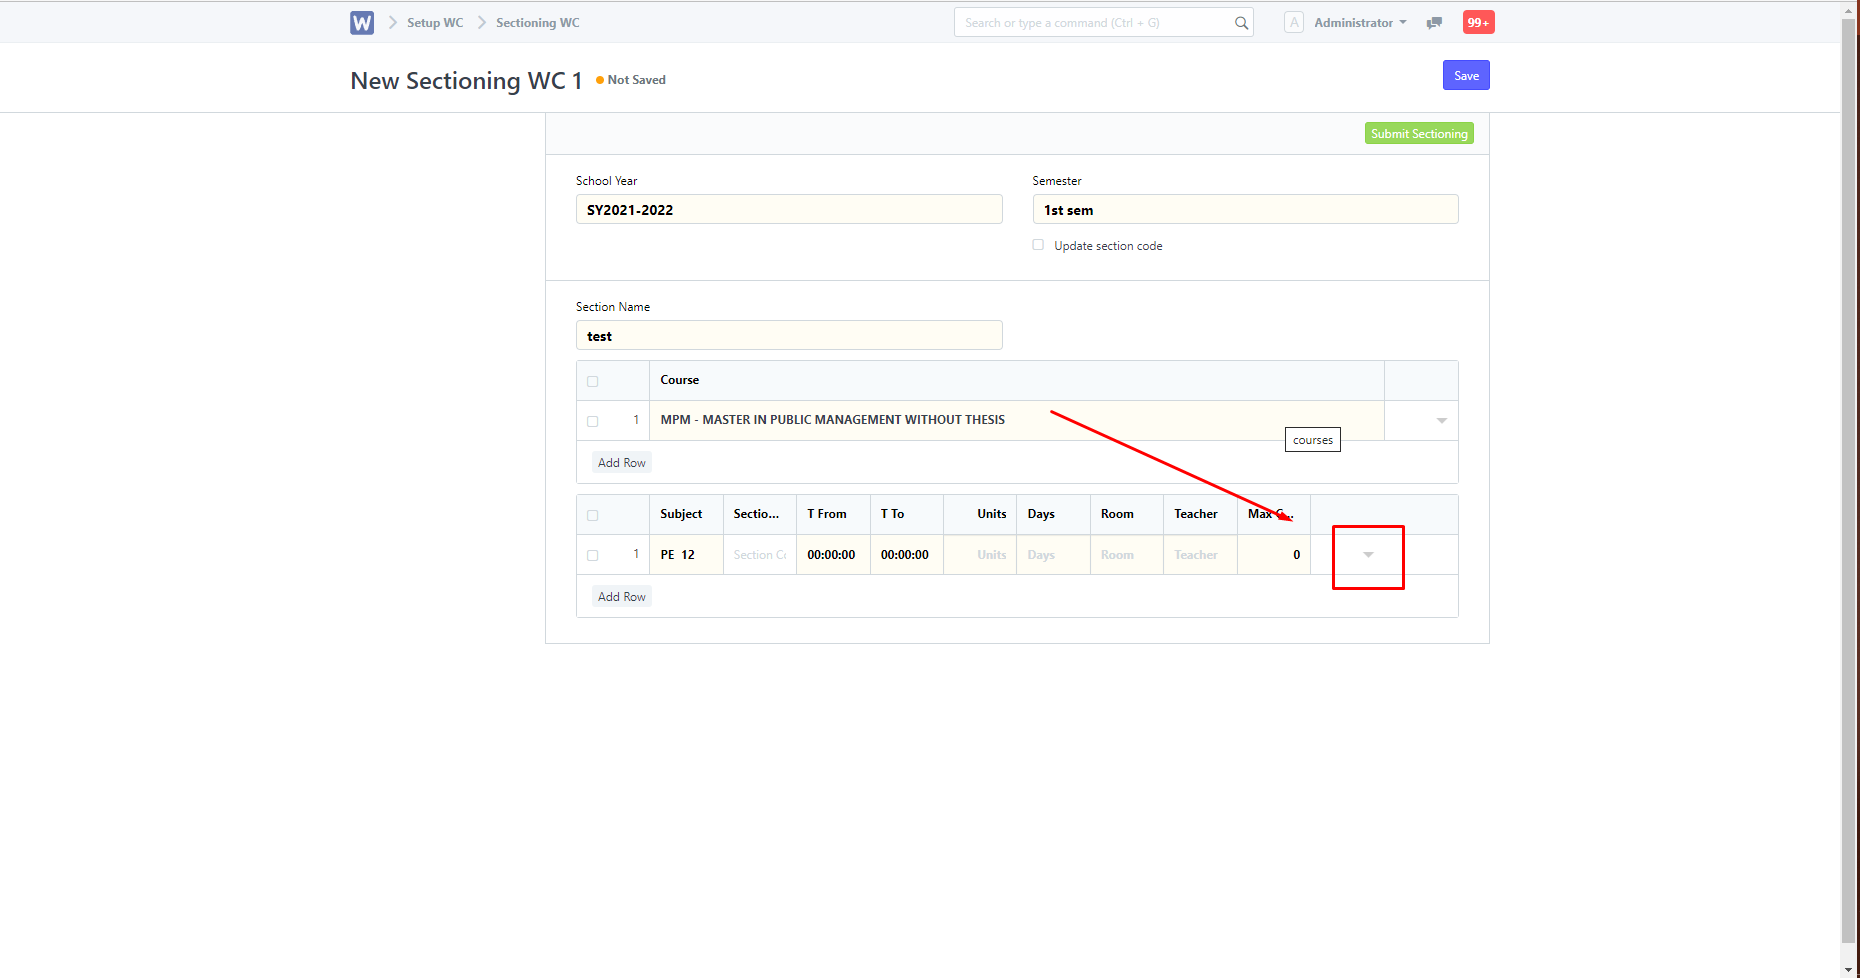
To add schedules, click the highlighted add row.
You can then choose which subject to add schedules to in the "Subject" column. After selecting the subject, you can now change its schedule.
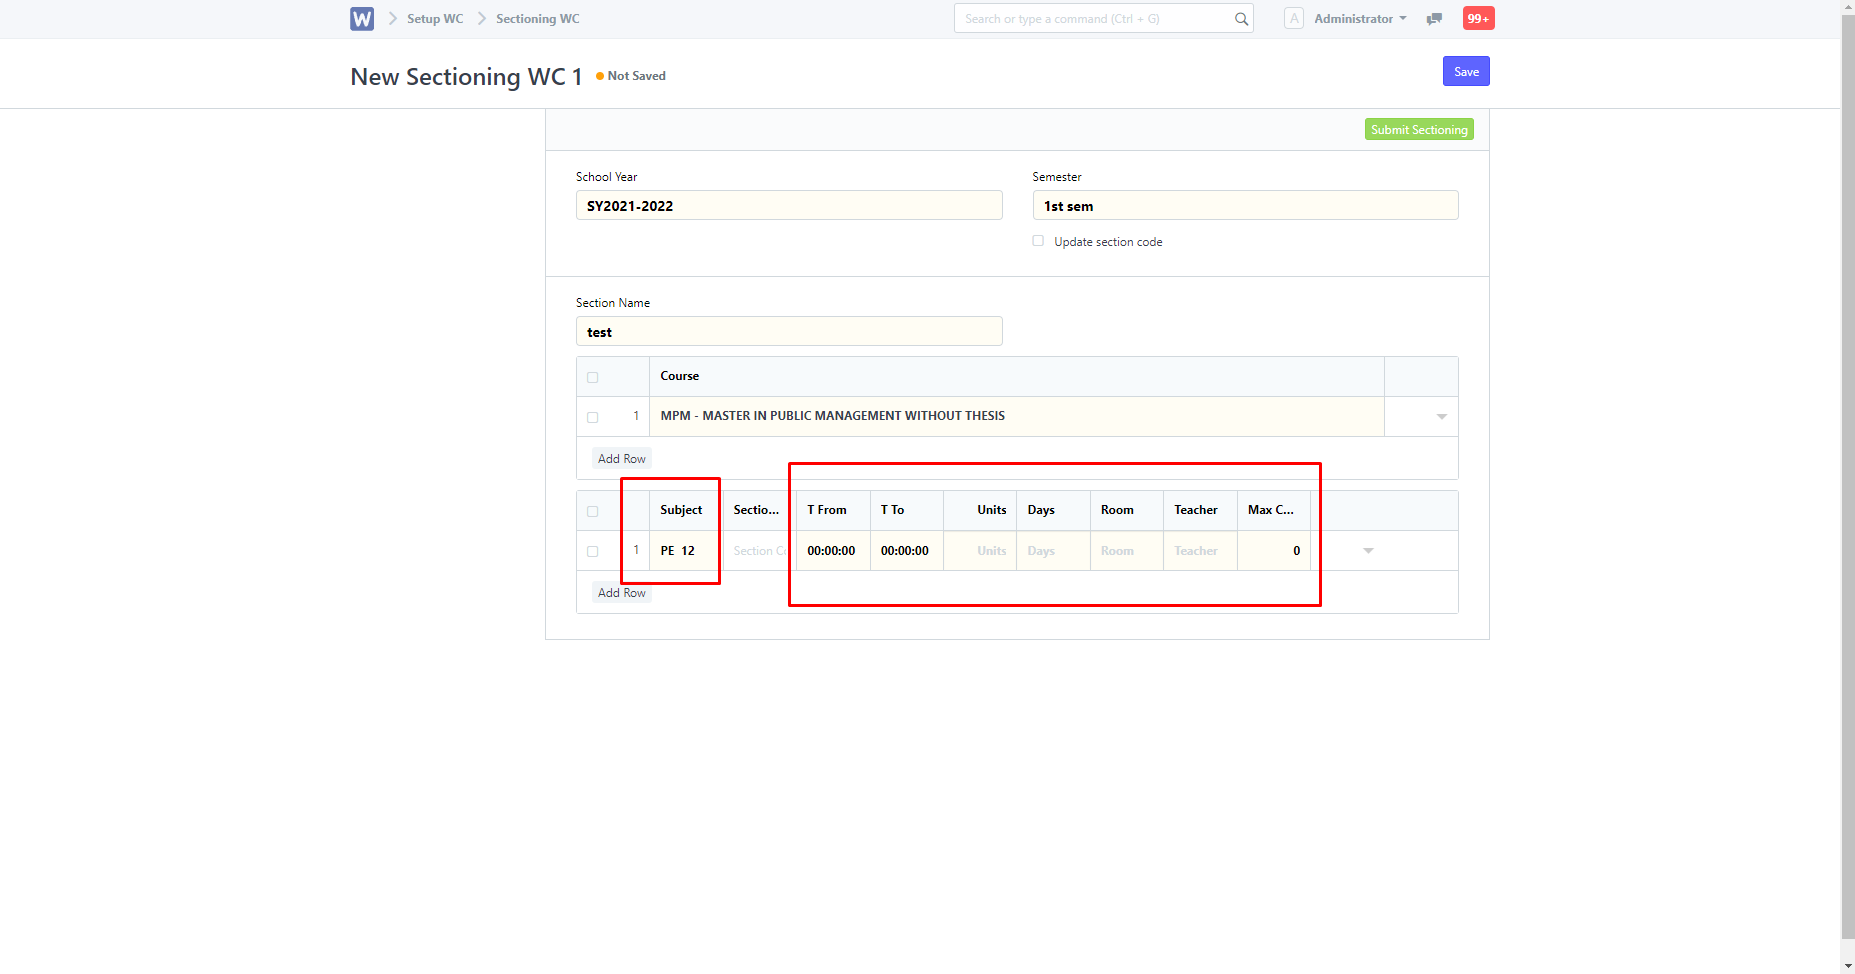
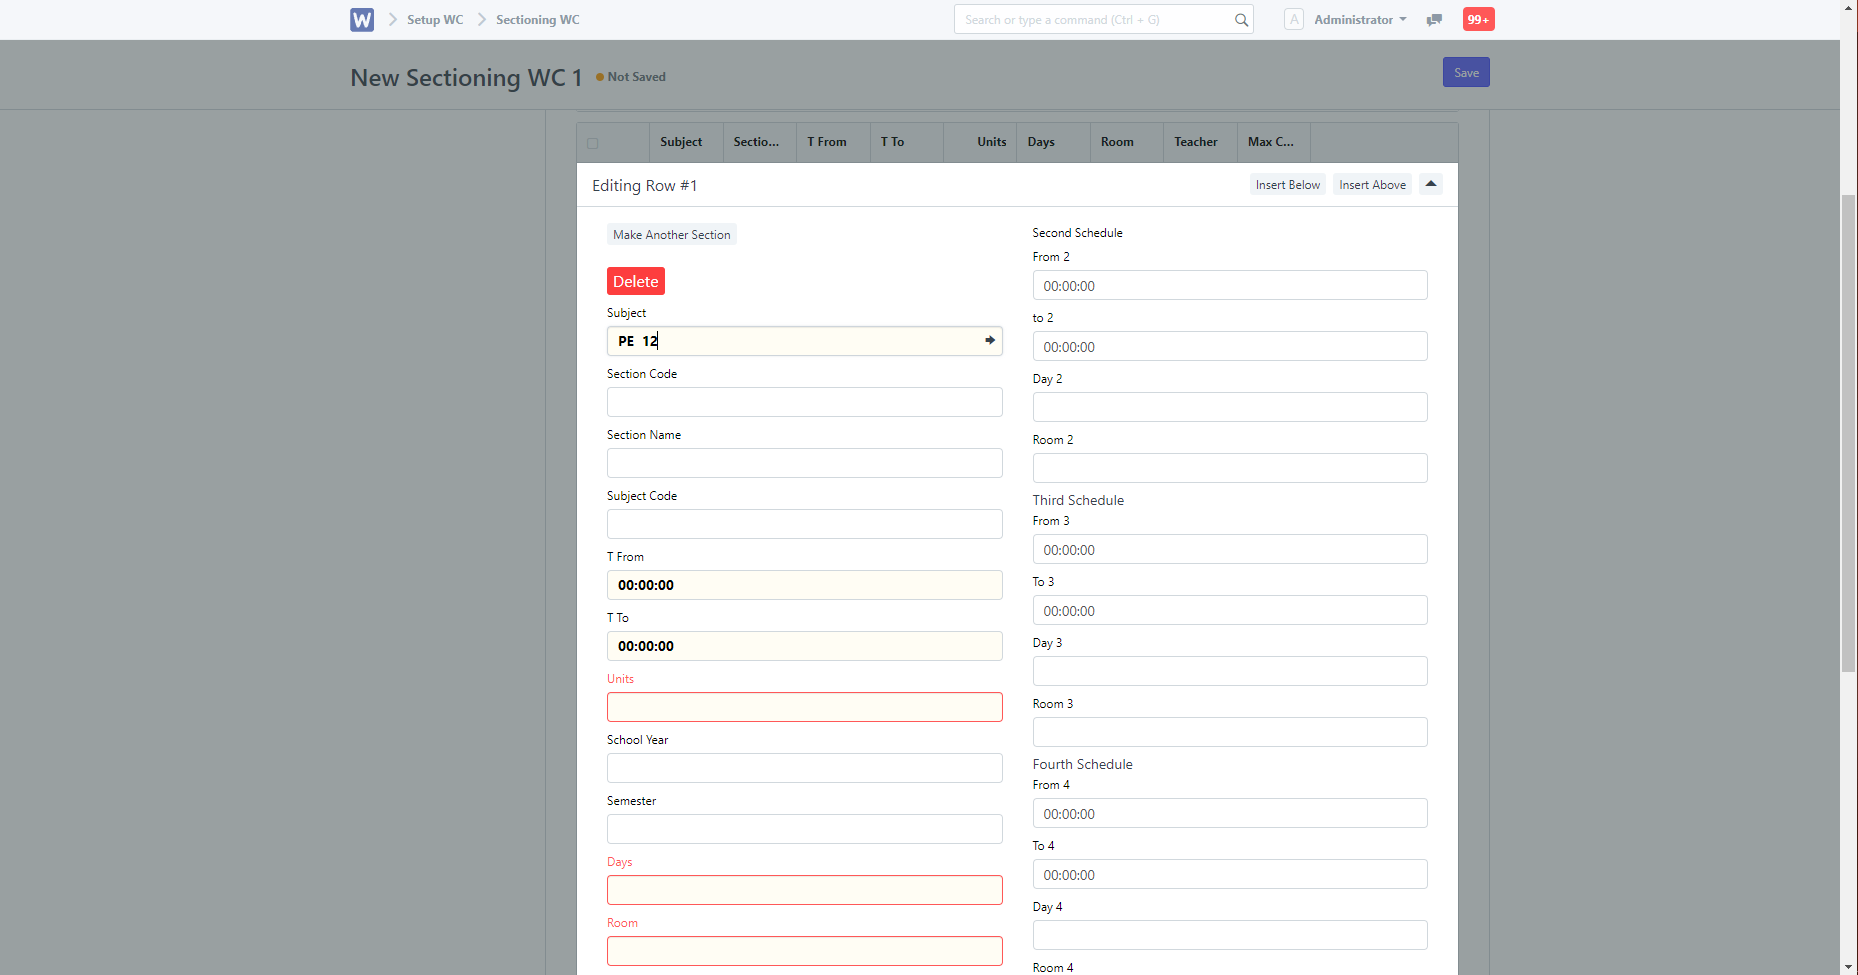
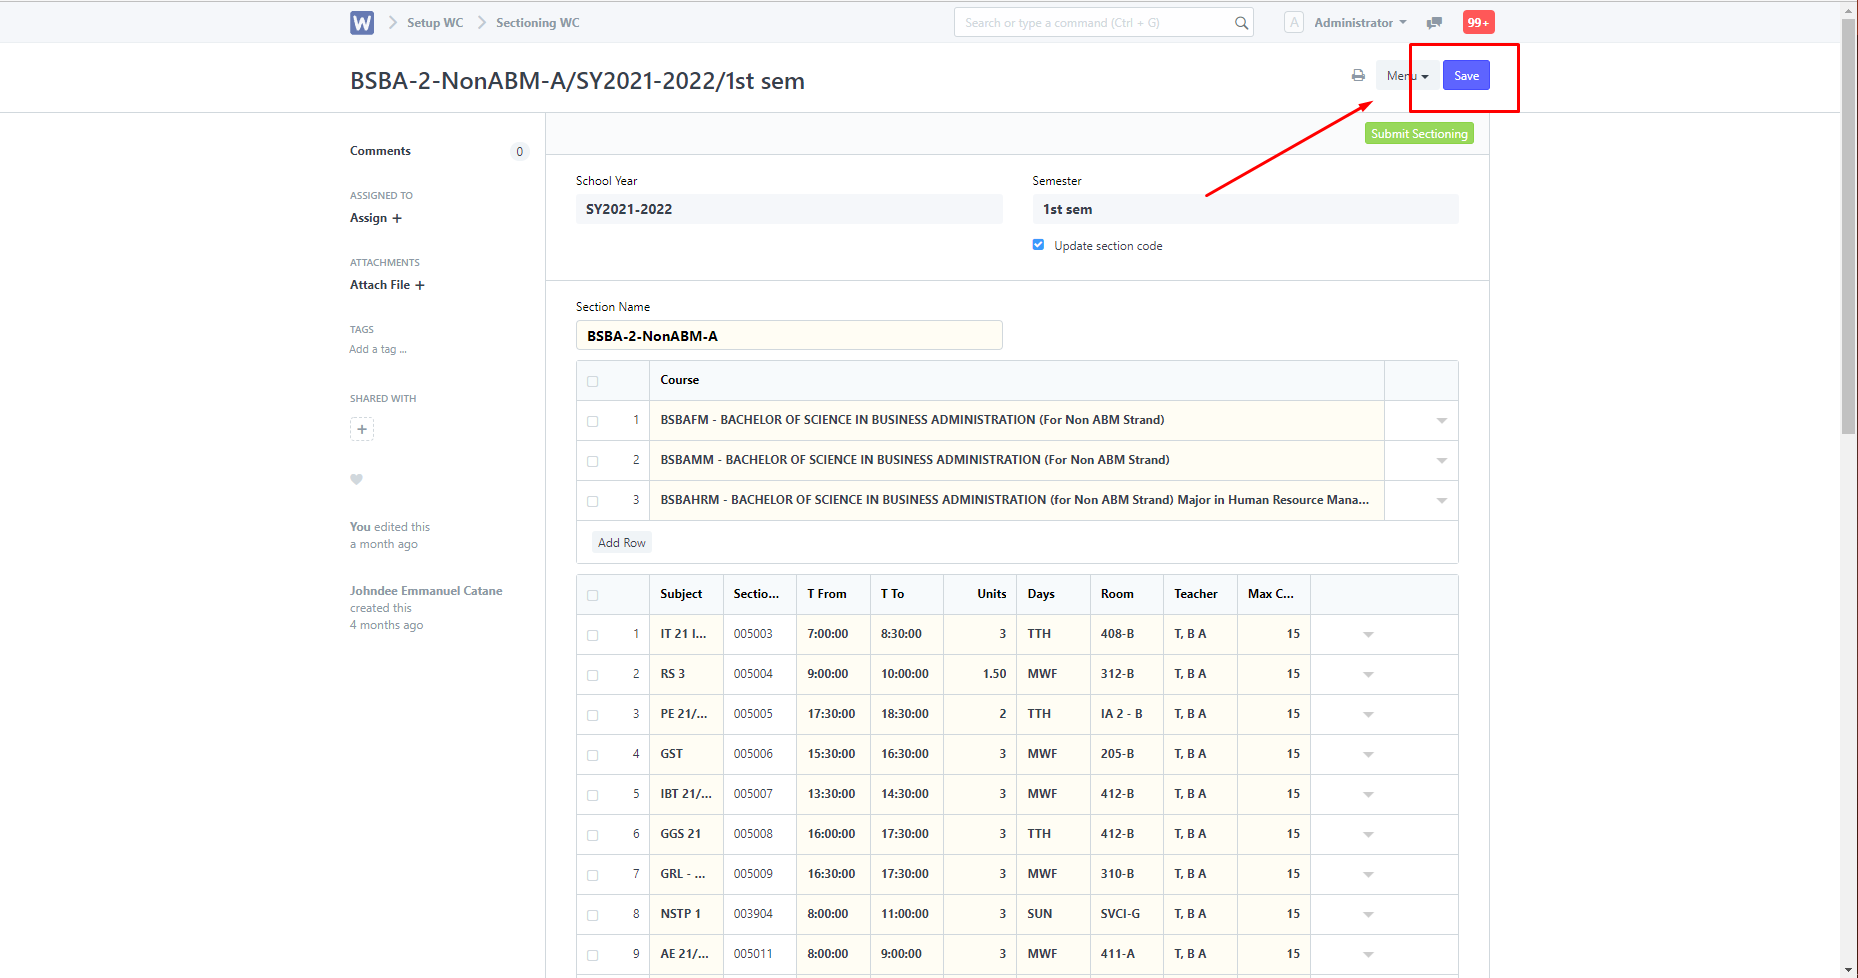
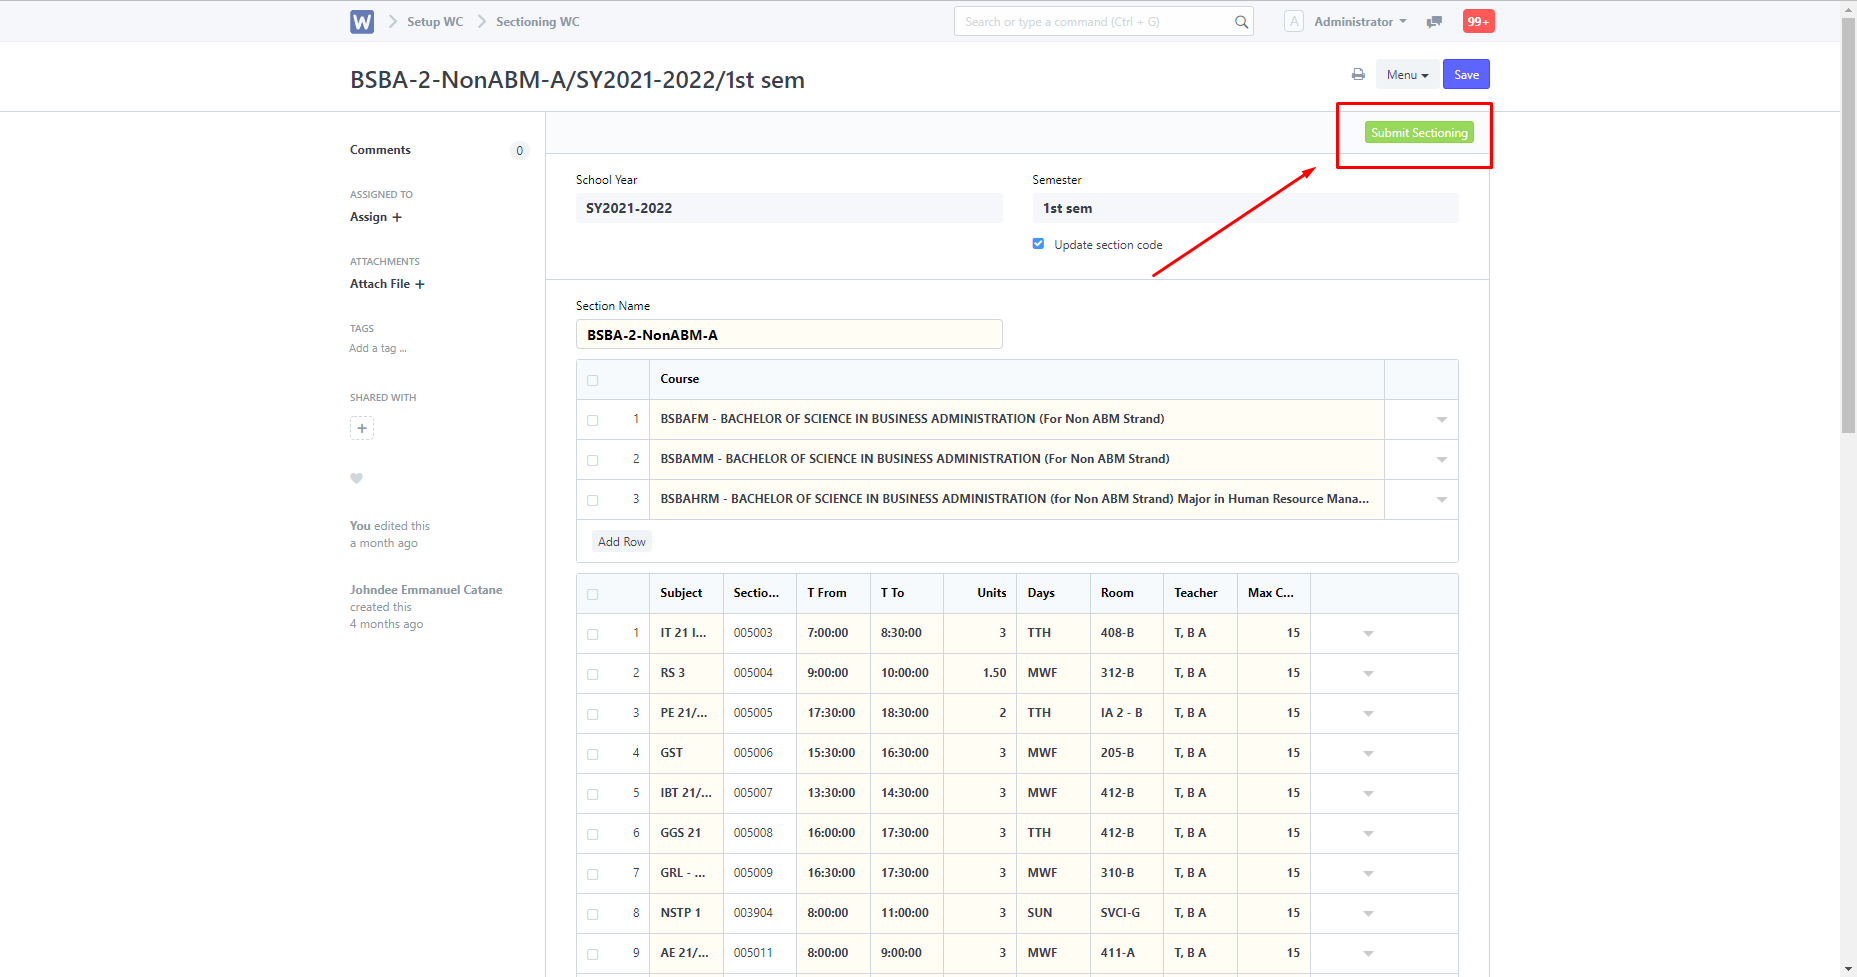
Once done you must click the "Save" button, and then Submit Sectioning.