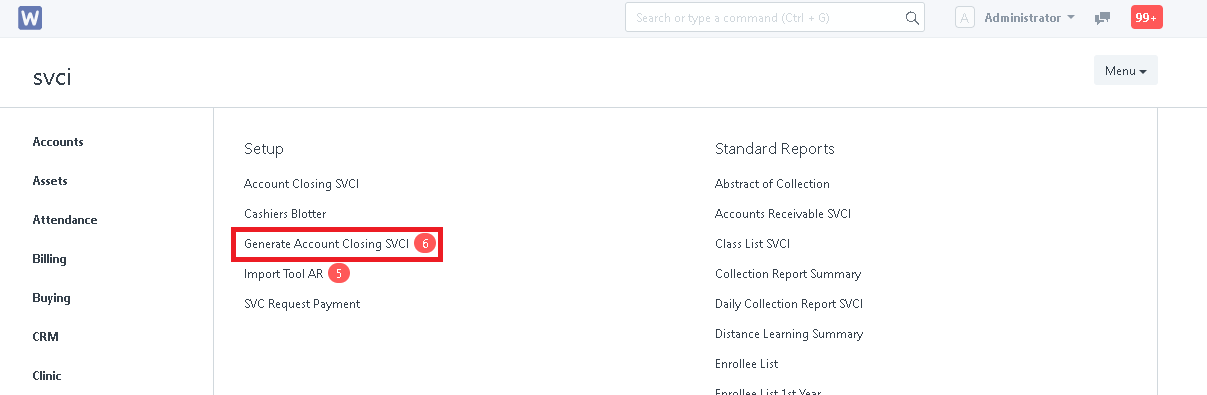
Step 1. Click the "SVCI" icon. Under the Standard Reports, select "Generate Account Closing SVCI".

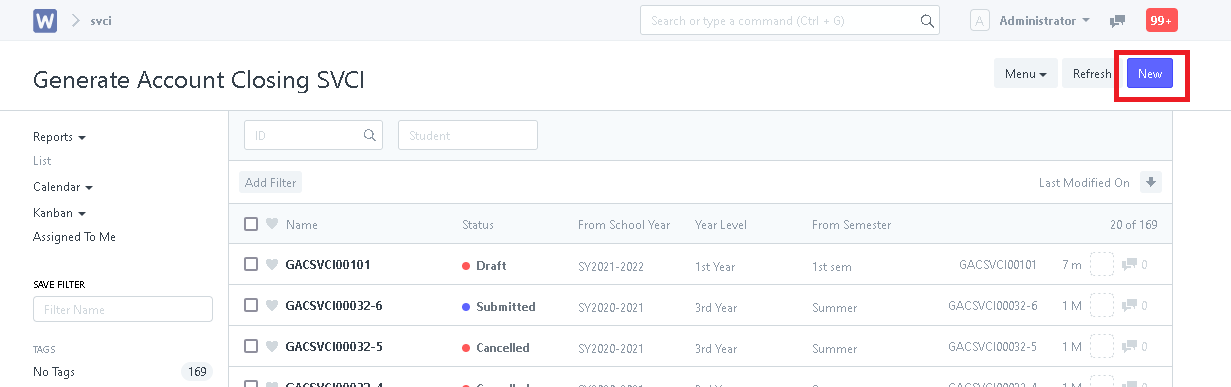
Step 2. Click "New"
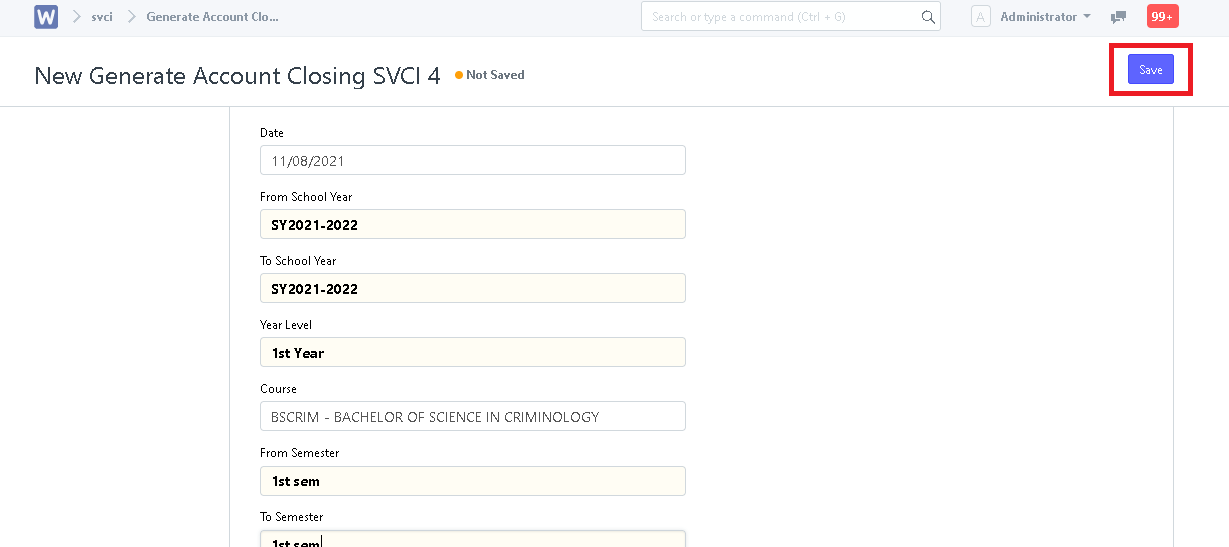
Step 3. Fill in the necessary details.
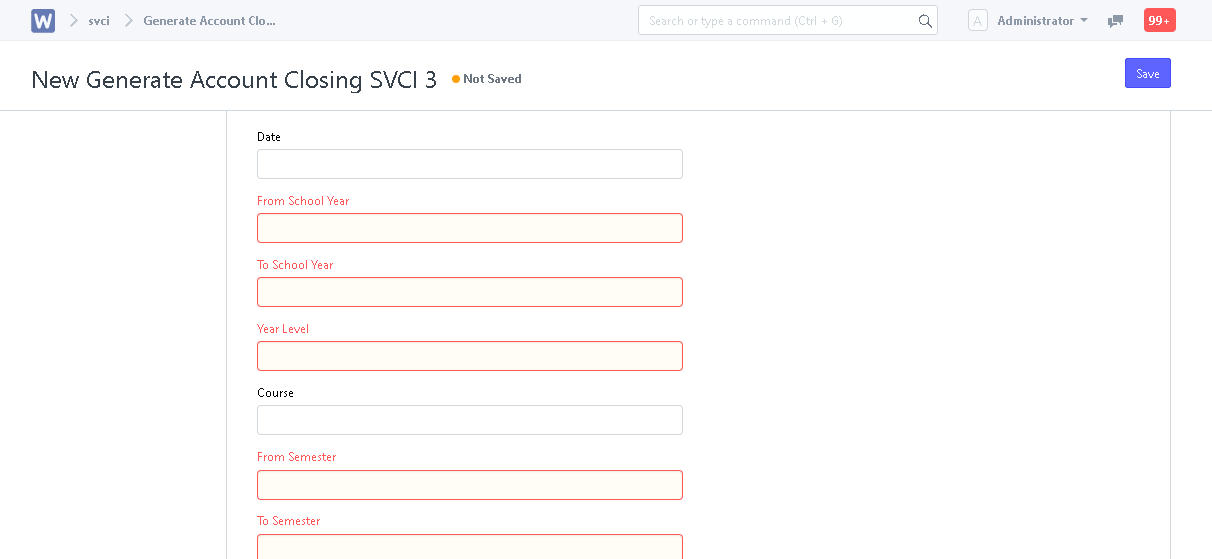
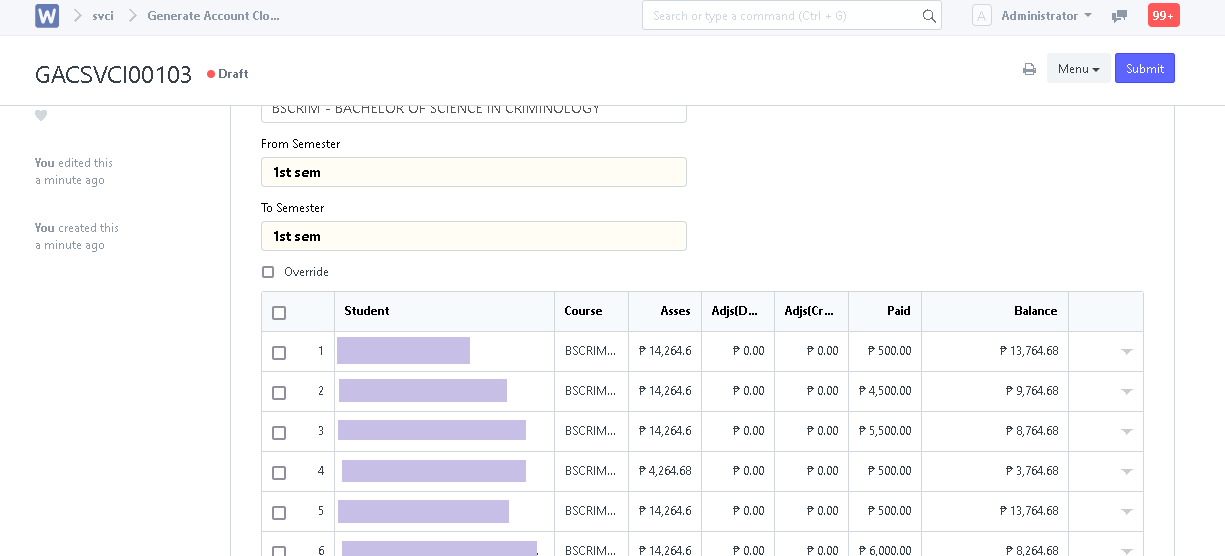
Step 4. After filling in the details/fields, click "Save". A draft of the account closing will be generated. List of students and their corresponding balances will also be generated based on the inputted fields.
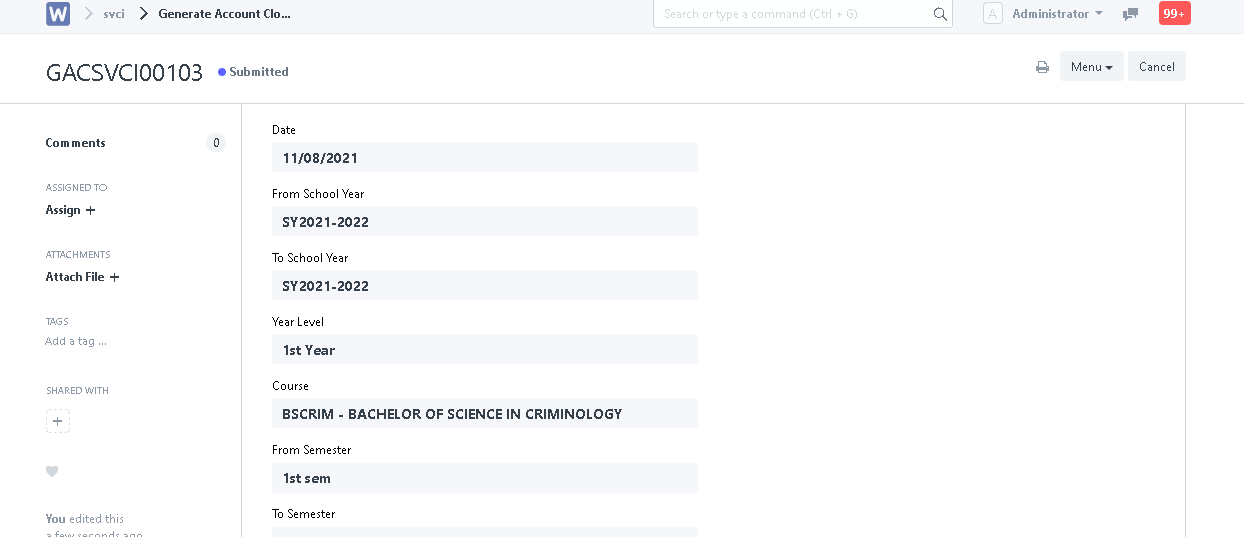
Step 5. Click "Submit". System will then ask the user to confirm submission. Click "Yes" to submit.
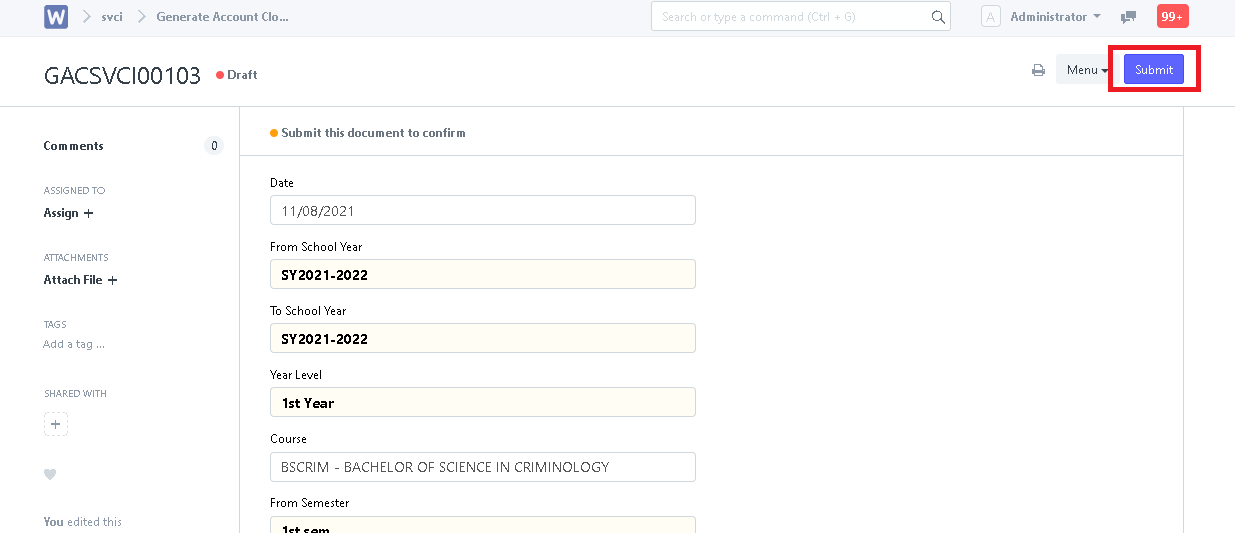

Account Closing has now been submitted.