Step 1. Go to "SOA SVCI".
- Option 1: Click on "View SOA SVCI" icon.

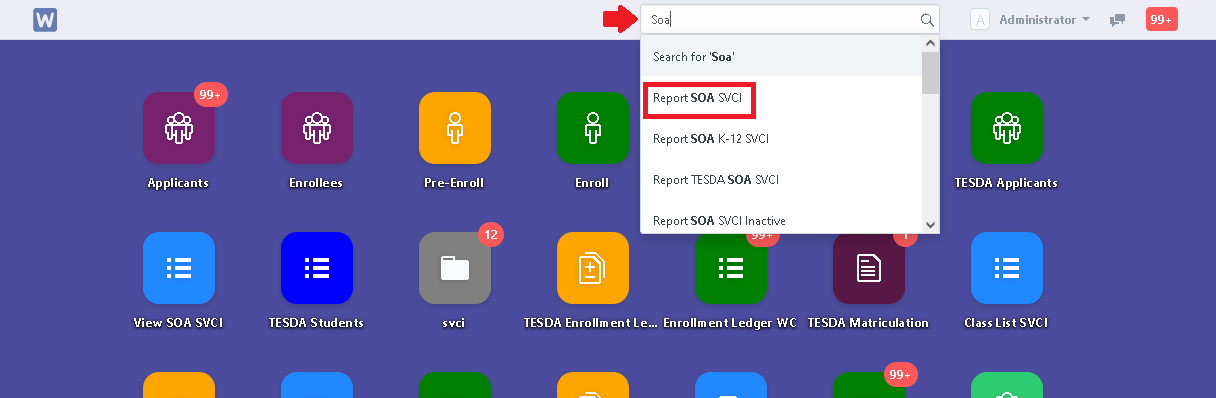
- Option 2: In search bar, search for "Report SOA SVCI"
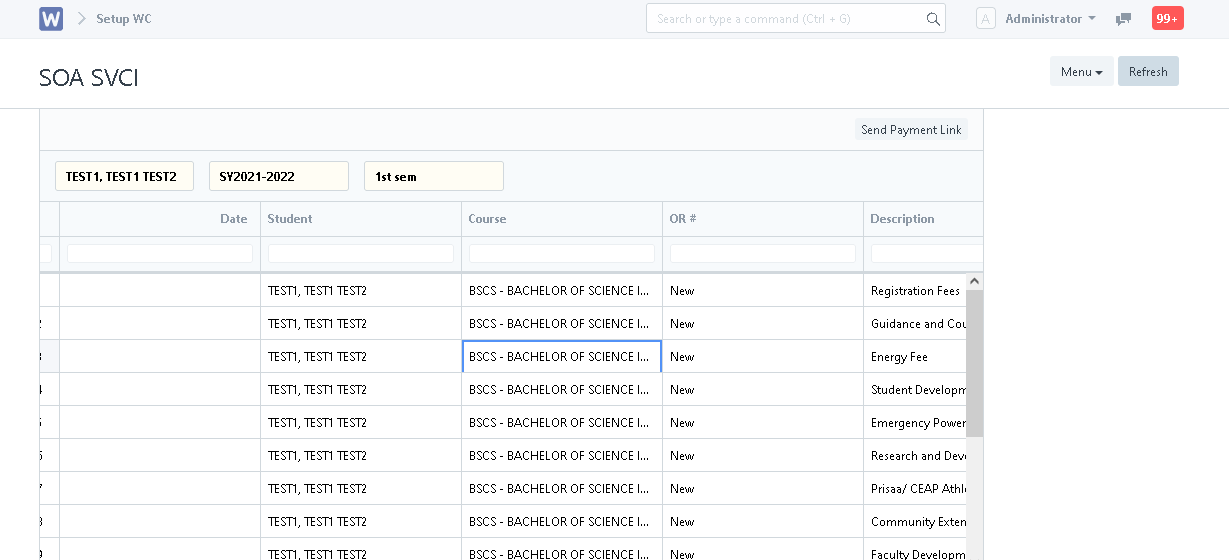
Step 2. Set the necessary details in the fields to generate the report.

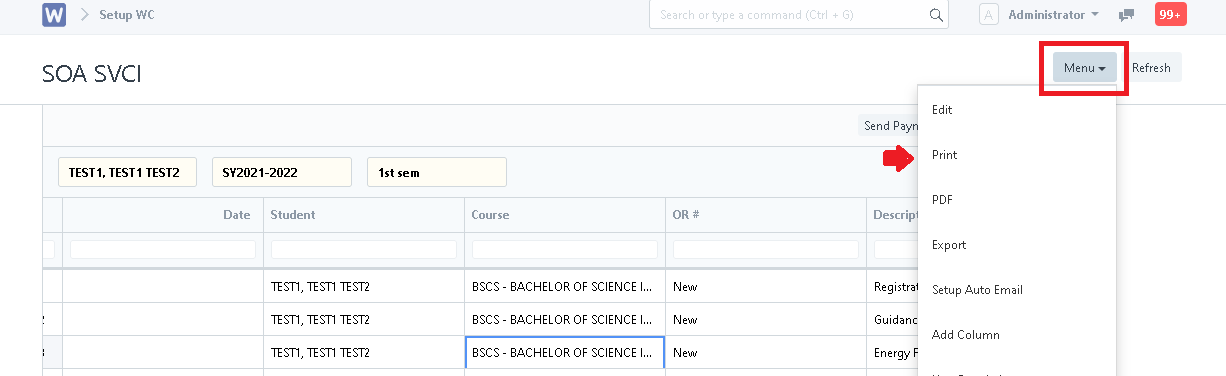
Step 3. Click "Menu" and select print "Print".
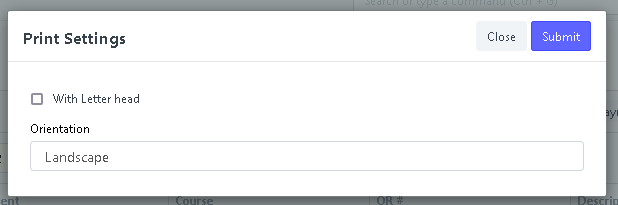
Step 4. Adjust Print Setting to your preference and click "Submit" to proceed to printing.