Step 1. Go to svci.wela.online and login to student's account.
Step 2. Open the "Add Subjects" icon.

Step 3. Click "New".

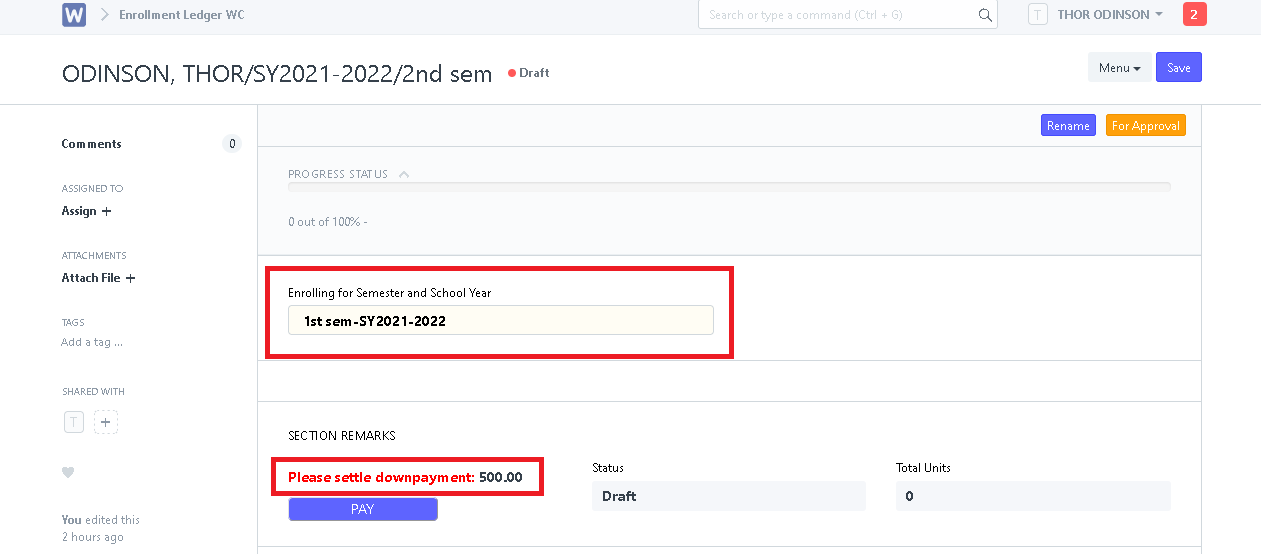
Step 4. Select the "Enrolling Semester and School Year". Settle the downpayment for enrollment to be able to choose section and add subjects or contact your school's registrar.
Step 6. Choose section by selecting it in "Section/Block". Pre-loaded subjects will appear in the table below.
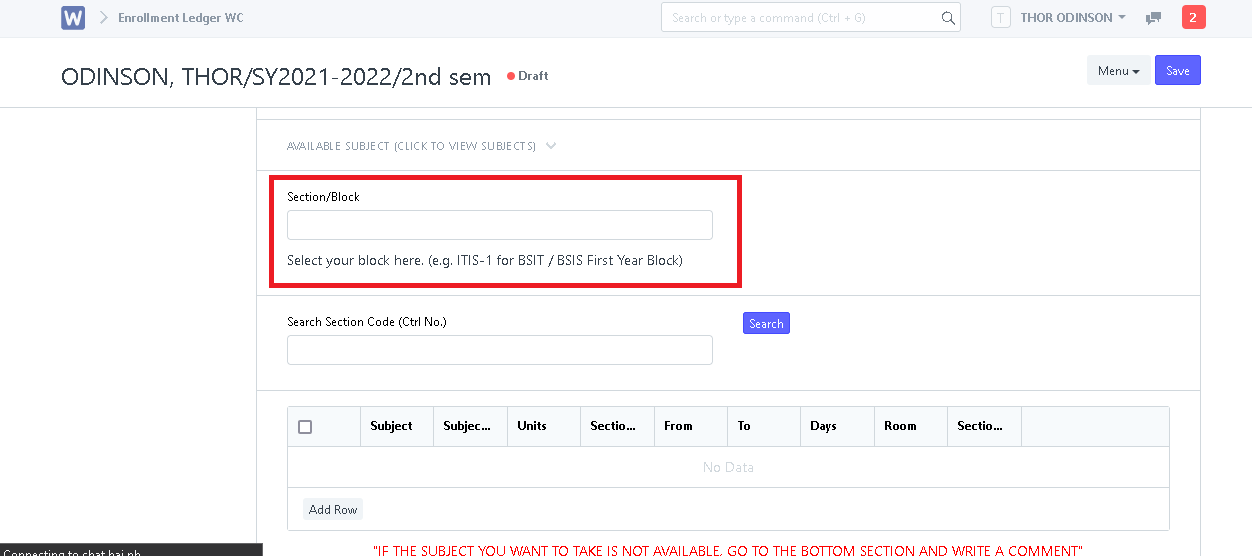
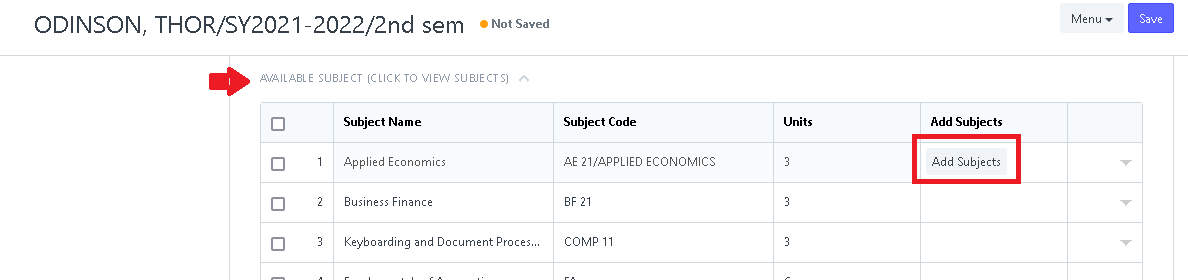
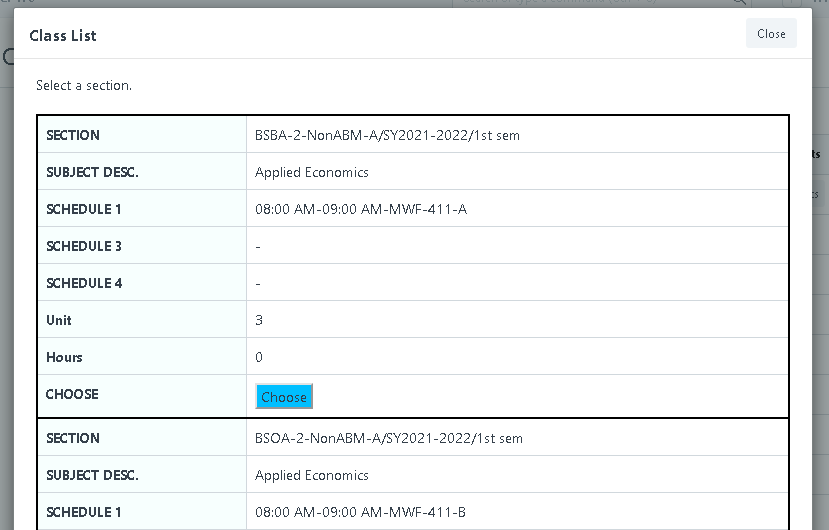
Step 7. Student can optionally add subjects that are available by clicking the "AVAILABLE SUBJECT" tab. Click "Add Subject" and click "Choose" to add subject.
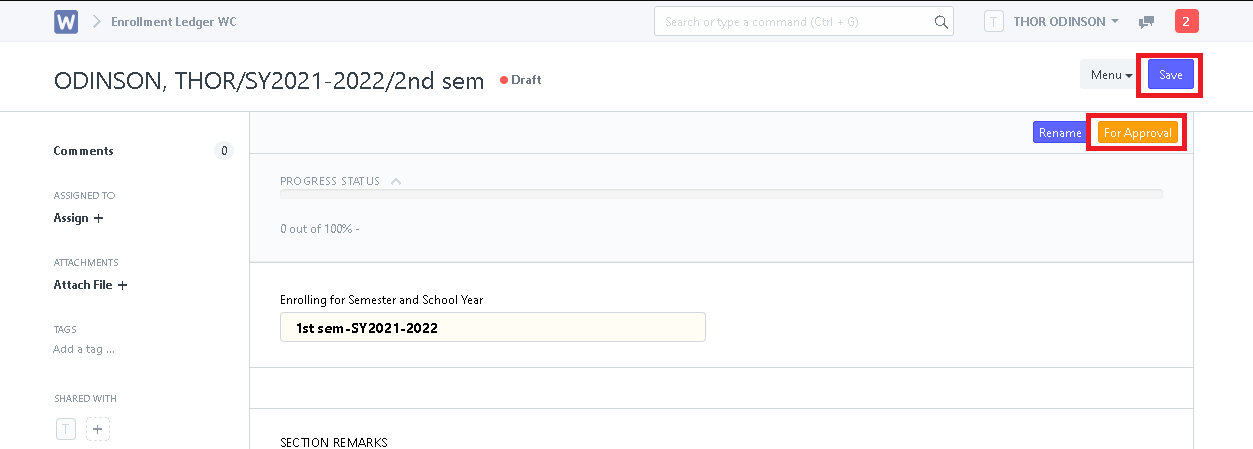
Step 8. After choosing subjects, click "Save" and click "For Approval".
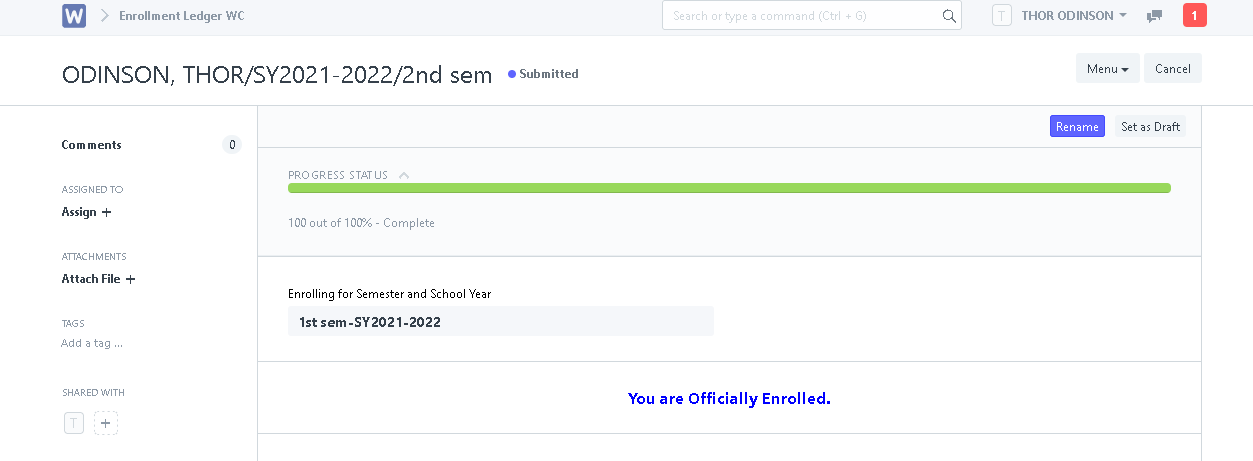
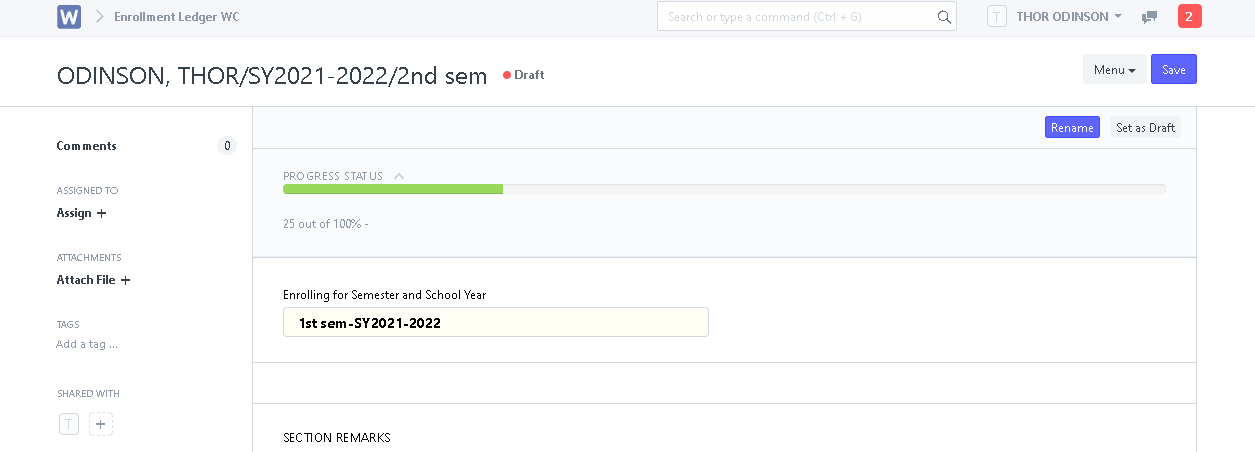
Step 9. Wait for the Dean and Registrar to approve and submit student's enrollment ledger.
Step 10. After approval of Dean and Registrar and submission of the enrollment ledger by the Registrar, student is now Officially Enrolled.